Master Your Herb Garden: A Step-by-Step Tutorial on How to Plant an Herb Spiral
Imagine harvesting fresh, fragrant herbs right outside your door. You can elevate your culinary creations easily. An herb spiral offers an aesthetically pleasing and highly functional garden feature. It brings many benefits for plant health and accessibility.
Why choose an herb spiral? This unique design maximizes space, creating distinct microclimates. It reduces water waste and provides a beautiful focal point in any garden. Plus, these spirals become surprisingly easy to care for once established.
Section 1: Planning Your Herb Spiral: Location, Design, and Materials
Selecting the Perfect Spot
Picking the right spot is key for a thriving herb spiral. Most herbs need at least six hours of direct sunlight each day. Protect your spiral from strong winds that can damage delicate plants. Place it close to your kitchen for easy access when cooking. Think about how you will reach all parts for planting, watering, and harvesting.
Designing Your Spiral Layout
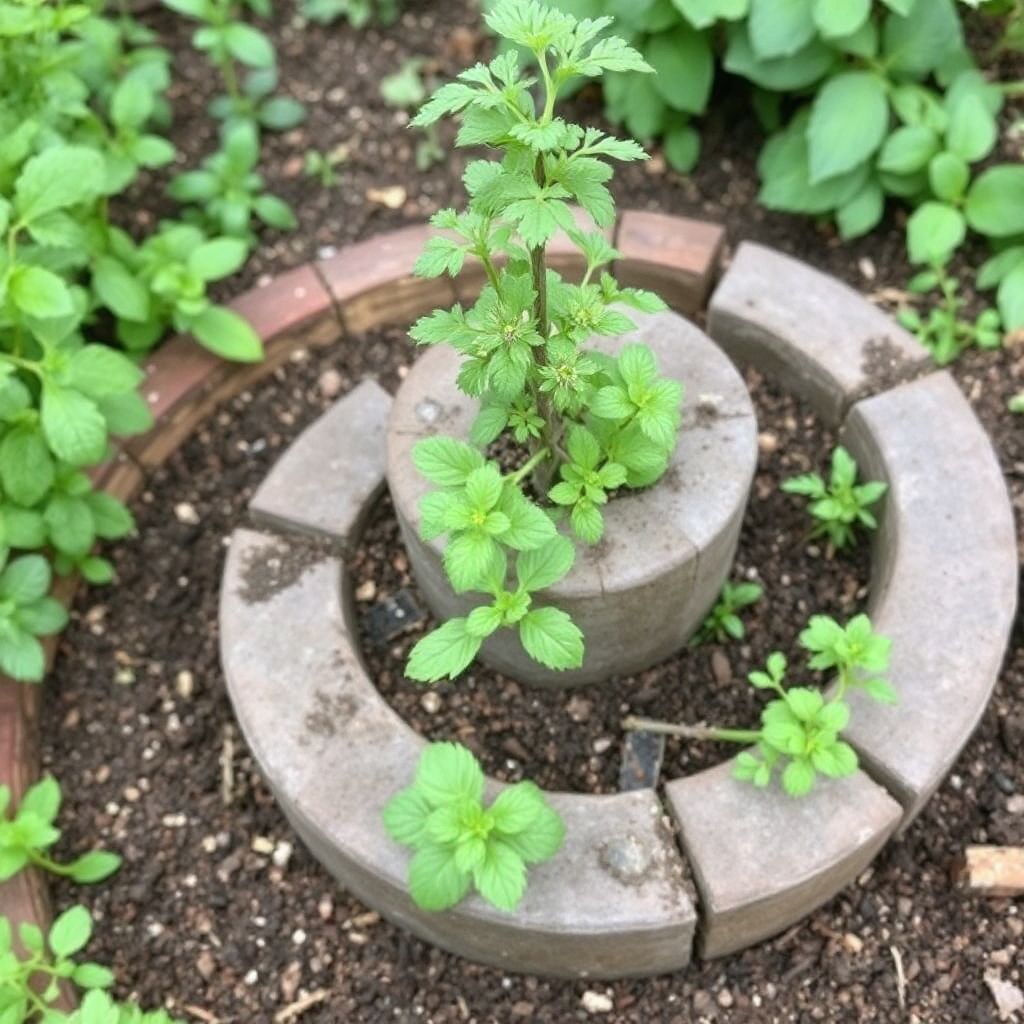
The spiral’s structure naturally creates different growing conditions, called microclimates. These vary from hot and dry at the top to cool and moist at the base. Map out your planting zones based on how much sun and water each herb needs. You can make small spirals for a few favorite herbs or larger ones to grow many varieties. This design works well in gardens of all sizes.
Gathering Essential Materials
You will need specific items to build your spiral.
- Structure: Use stone, brick, or reclaimed wood for the spiral wall. These materials look great and last a long time.
- Soil: Get high-quality potting mix or a rich blend of compost and topsoil.
- Herbs: Choose healthy starter plants or seeds of your desired herbs.
- Tools: A shovel, trowel, watering can, and gardening gloves are a must.
- Optional: Add mulch to hold moisture or gravel for extra drainage.
Section 2: Building Your Herb Spiral: Step-by-Step Construction
Laying the Foundation
First, mark out the spiral shape on the ground. A rope or garden hose can help you get the curve right. Start building the base layer of your wall from the center outwards. Make sure this first layer is stable and level. This step sets the stage for the rest of your structure.
Constructing the Spiral Walls
Now, begin layering your chosen materials, like stones or bricks. Slowly build upwards, creating a winding path and tiered planting areas. Use a level often to ensure your walls are straight and sturdy. Secure the materials well so the structure can hold the soil and plants. Each turn of the spiral should rise higher than the one before it.
Filling with Soil
Once your walls are built, it’s time to add the soil. Start filling the lowest sections first, working your way up. Use your chosen soil mixture. Create distinct soil levels within each spiral section. This helps meet the different moisture and drainage needs of various plants. Good soil is essential for healthy herb growth.
Section 3: Choosing and Planting Your Herbs
Selecting the Right Herbs for Your Spiral
Picking the right herbs for each zone makes a big difference. Group plants by their growing needs. Some herbs love sun and dry conditions, while others prefer moisture. Research the specific needs of each herb you plan to grow.
- Top (Dry/Sunny): Rosemary, Thyme, Sage, Lavender, and Oregano thrive here.
- Middle (Moderate): Parsley, Chives, Dill, and some Mints do well in these spots.
- Base (Moist/Shady): Mint (always in containers to prevent spreading), Lemon Balm, and Cilantro prefer the cooler, wetter base.
Planting Techniques for Success
Spring or early fall are often the best times to plant herbs. When transplanting seedlings, gently remove them from their pots. Try not to disturb the roots too much. For herbs grown from seed, follow package instructions for sowing depth and spacing. A smart tip is to plant taller herbs on the north side of the spiral. This keeps them from shading out smaller plants below.
Companion Planting within the Spiral
Companion planting helps your herbs grow better together. Certain herb pairings can deter pests. Others might even improve flavor or growth. For example, planting chamomile near mint can boost its flavor. Consider beneficial pairings as you plan your layout.
Section 4: Watering, Feeding, and Maintenance
Efficient Watering Strategies
The spiral design is excellent for saving water. It naturally encourages water to flow downwards. Water your spiral from the top, letting the water trickle down through all the levels. This method ensures that the lower, moisture-loving plants get enough water. Always check the soil moisture before watering again. You might be surprised how efficient this design is; well-designed spiral gardens can reduce water usage by up to 60% compared to traditional beds.
Feeding Your Herbs
Most herbs do not need much feeding. Especially if you start with nutrient-rich soil, they will thrive. If your herbs seem to be struggling, you can use a diluted liquid fertilizer. A simple organic compost tea can also provide a gentle nutrient boost. Avoid over-fertilizing, as this can reduce the flavor of some herbs.
Pruning and Harvesting Techniques
Regular harvesting is crucial for a bushy, productive herb spiral. When you snip off leaves and stems, it encourages the plant to grow more. Use sharp scissors or pruners for clean cuts. Prune herbs to maintain their shape and keep them healthy. Harvest herbs in the morning after the dew has dried for the best flavor.
Section 5: Troubleshooting Common Herb Spiral Issues
Dealing with Pests and Diseases
Like any garden, your herb spiral might face pests or diseases. Common pests include aphids and spider mites. Powdery mildew is a frequent disease affecting herbs. For pests, try spraying with a mild soap solution. Good air circulation helps prevent diseases. “Healthy plants are the best defense against pests,” as many gardening experts advise. Focus on good soil, enough sunlight, and proper watering for strong plants.
Managing Overcrowding and Invasive Herbs
Some herbs, like mint, grow very quickly and can take over. Consider planting aggressive herbs in their own containers within the spiral. This controls their spread. Thin out plants if they become too crowded. Overcrowding can block airflow and lead to disease. Give each herb enough room to thrive.
Adapting to Seasonal Changes
Your herb spiral needs care throughout the year. In colder months, protect tender herbs from frost using a cover or moving potted herbs indoors. During extreme heat, provide some shade or water more frequently. Learn which of your herbs are perennial and how to help them survive winter.
Conclusion
An herb spiral is a fantastic addition to any garden. It saves space and uses water efficiently. Plus, it adds a unique beauty to your outdoor area. You’ve learned how to plan, build, and care for this special garden. This includes selecting the best spot, constructing the spiral, choosing and planting herbs, and keeping them healthy.
Start small with a few of your favorite herbs. Expand your spiral as you gain confidence and skill. Soon, you will enjoy a constant supply of fresh, accessible herbs right from your own backyard.